Foam Food
Food made for "A Christmas Story" put on by the St. Michael's Players 11/2018.
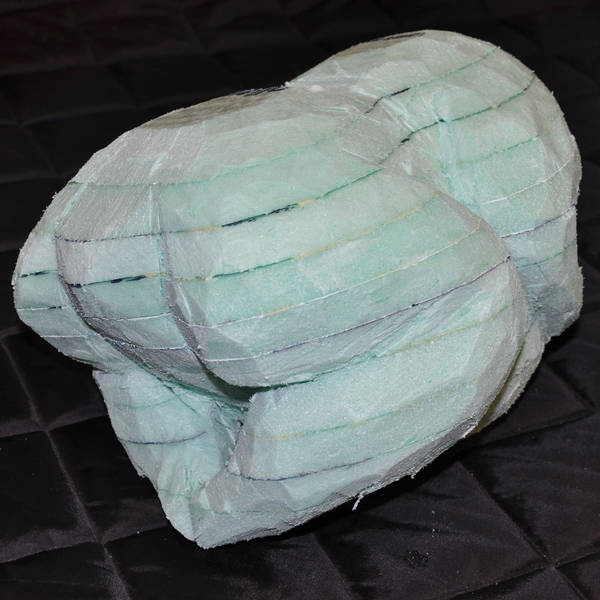
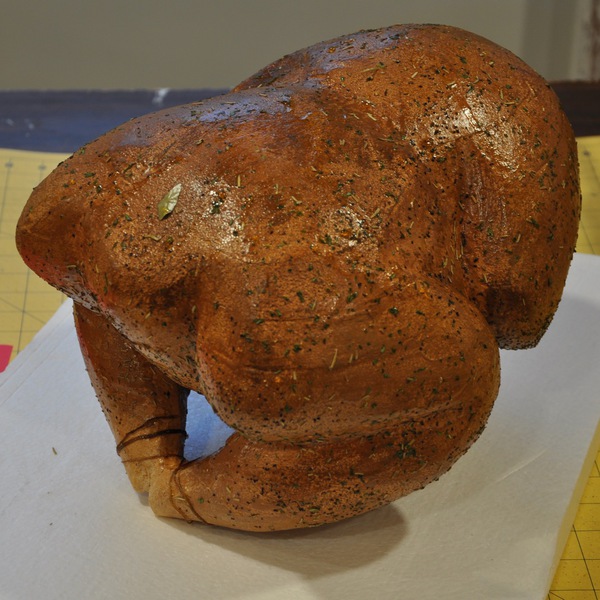
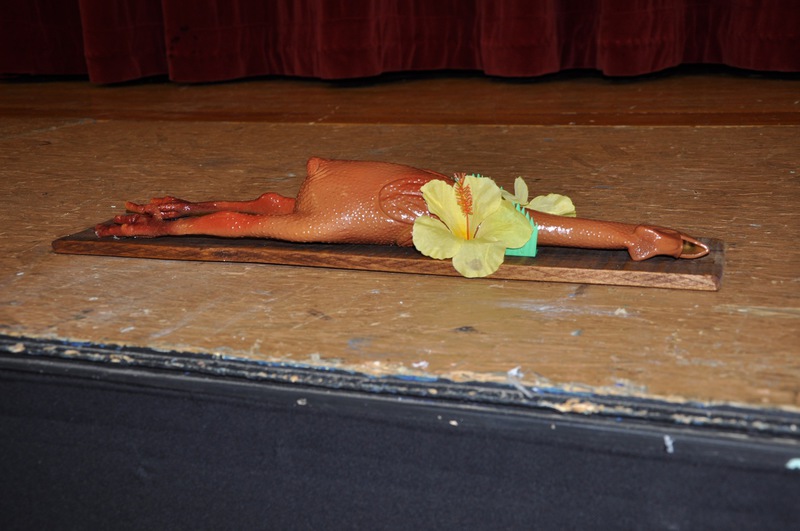
Turkey
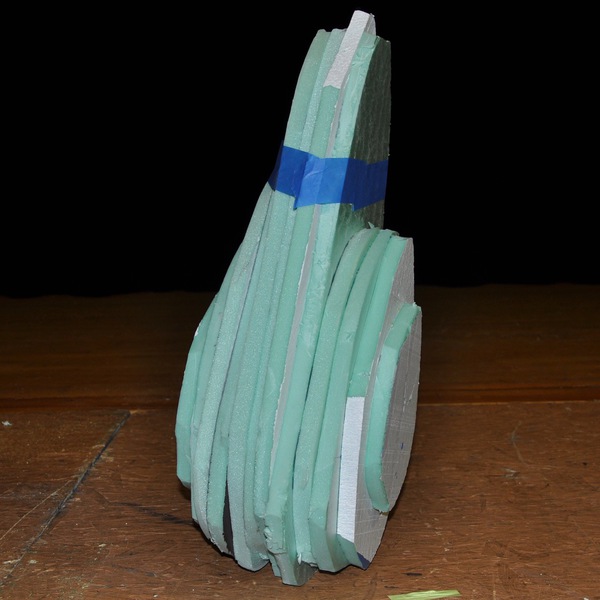
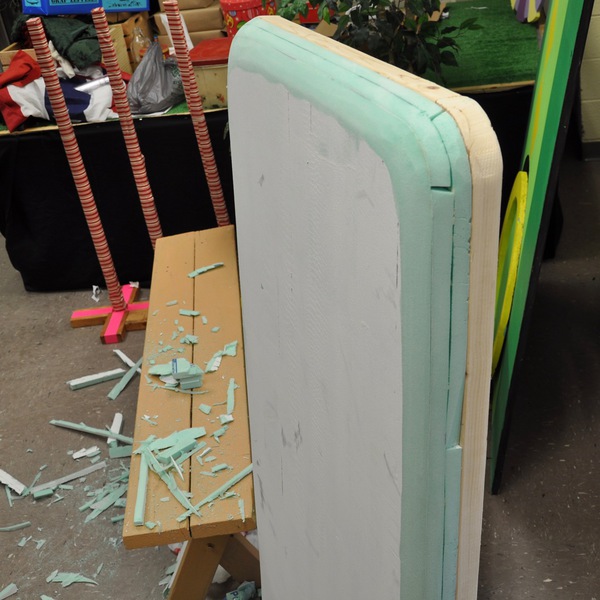
Start by using Gorilla glue to glue together layers of insullation foam. Glue that expands is best because it will seep into the tiny holes and grab the layers together. Press the layers together as you go and make sure to bind them together with tape or place heavy weights on the stack to make sure the glue does not push the layers apart. Give a day to dry before carving. I used an electronic knife (like a mini saws-all) for the big pieces. Then used a Dremmel for the smaller details.


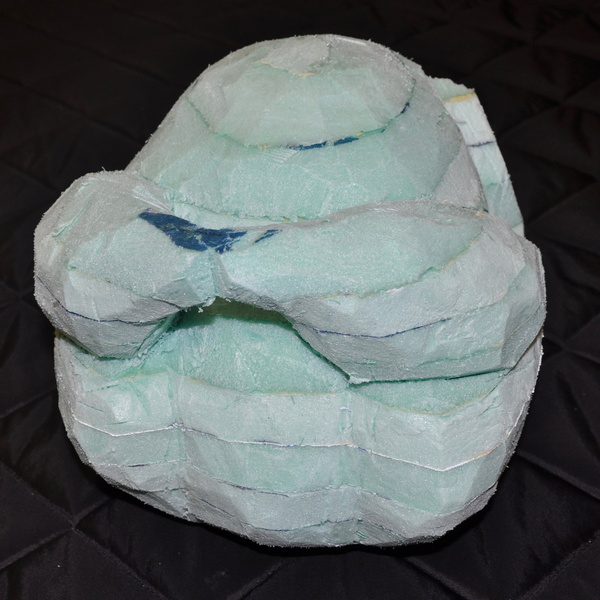
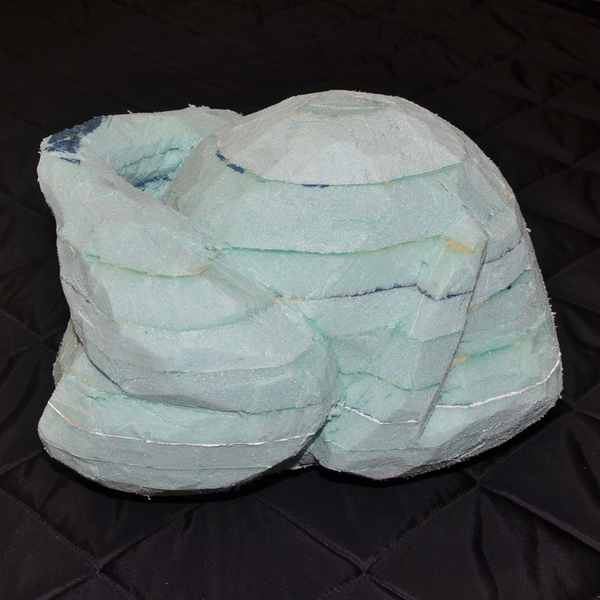
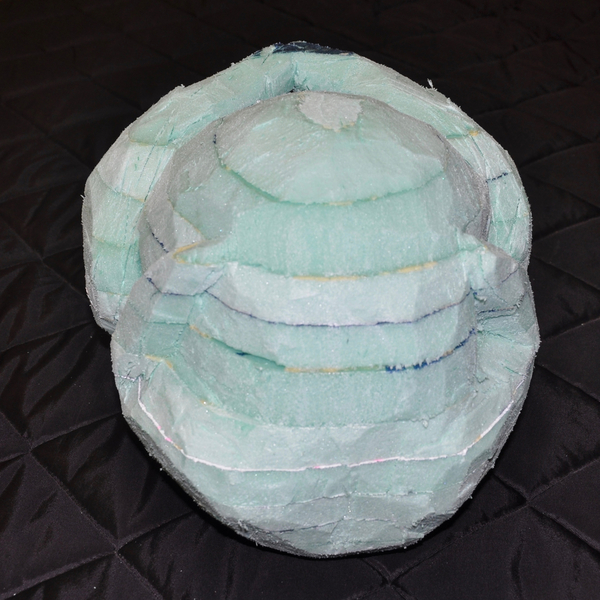
After the rough cut, I fill in any cracks between the layers with some wall patch. Then I used a hand sander to finish 'carving' the turkey down to the shape and smoothness I need. I made sure to keep checking as I went to make sure the bird fit in the roasting pan I wanted to display it in.
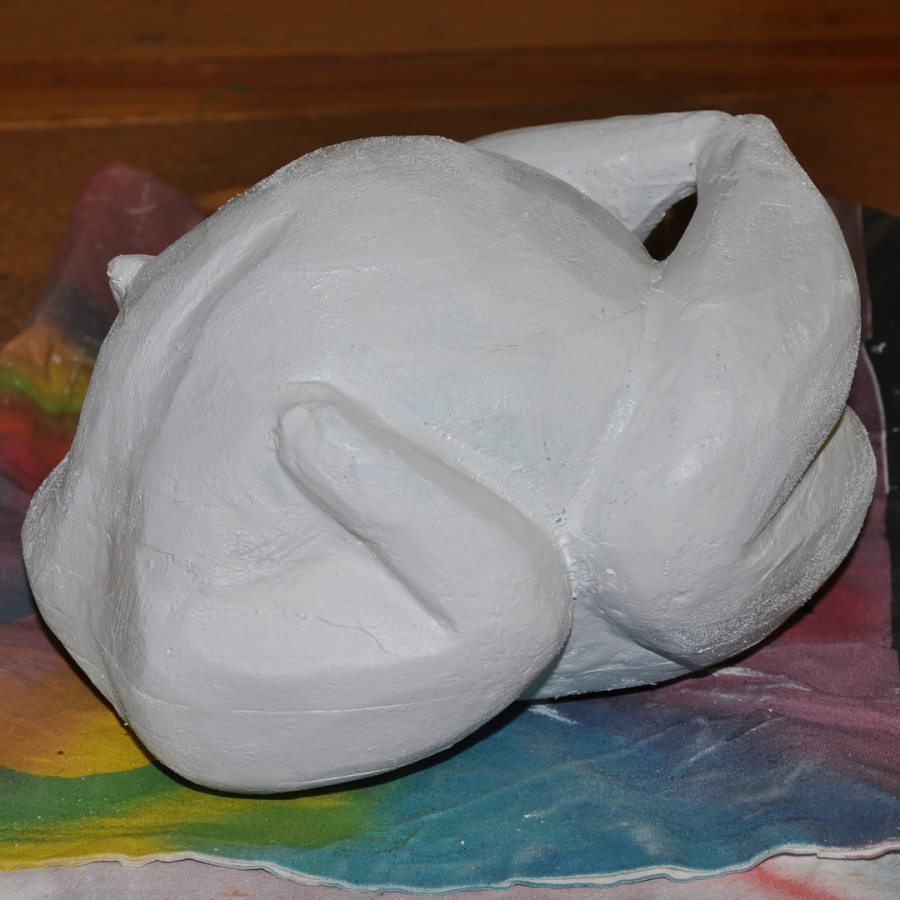
I prime the foam before painting. Foam will suck up your paint if you do not. After priming, I fill in any cracks that I missed before. I'll add a second layer of priming if it needs it.
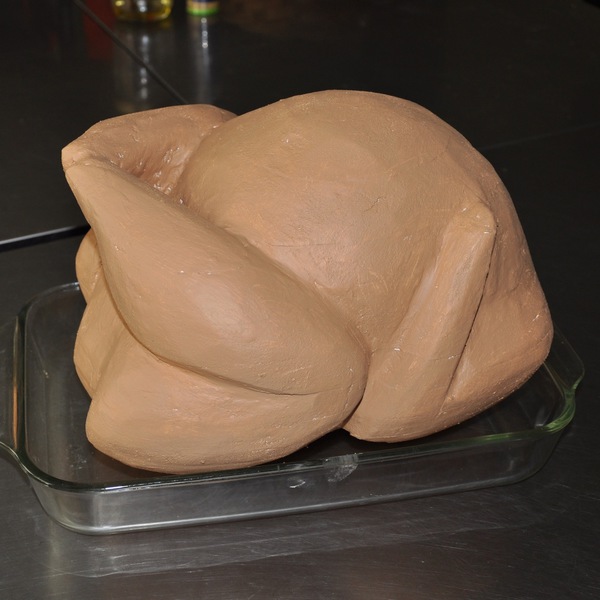
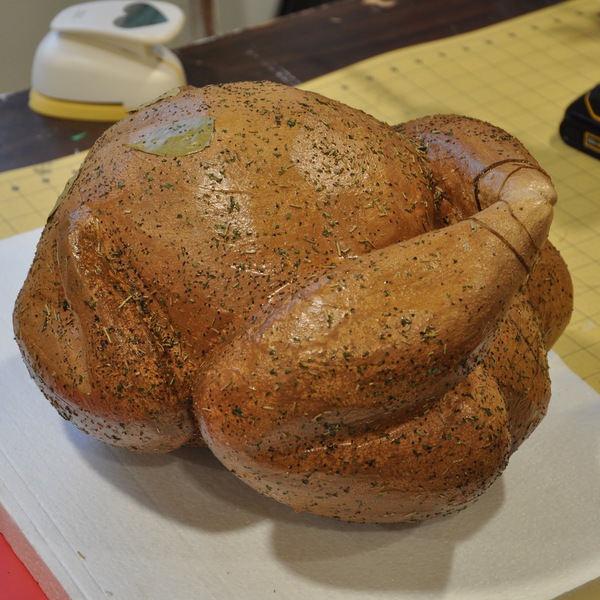
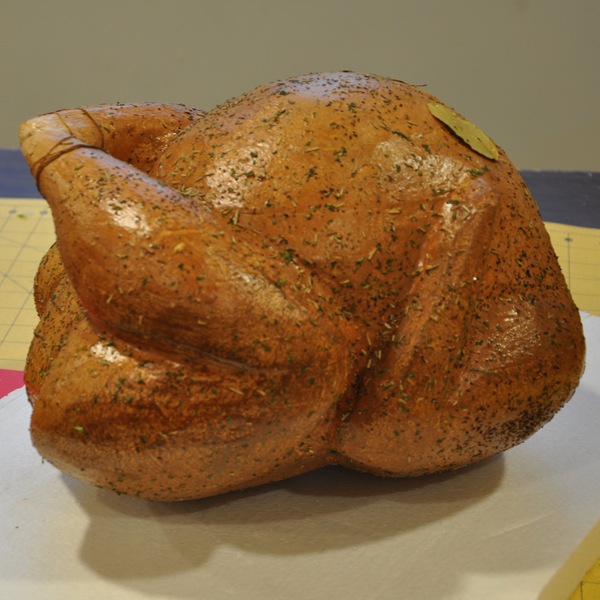
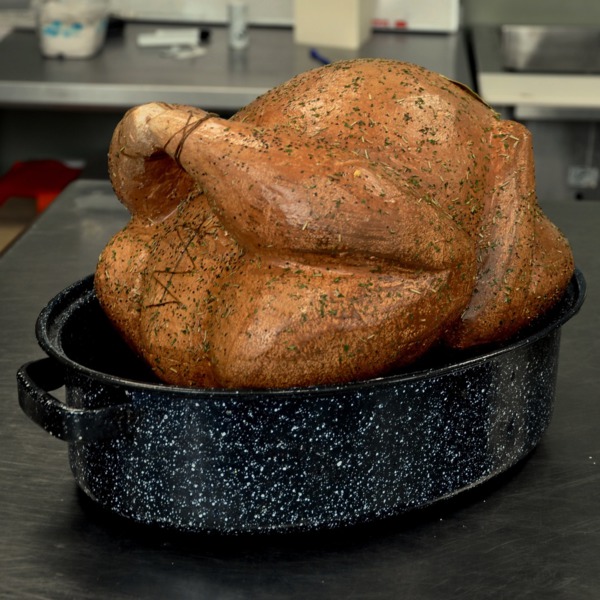
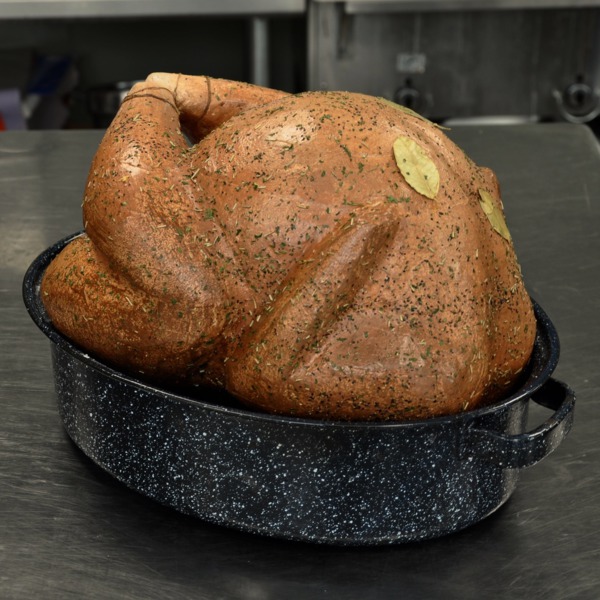
I used a waterbased house paint and put down basic colors. Dry brush layers of darker tones to give it that cooked look. Final step: I brushed a layer of satin poly finish on the bird. While wet, I sprinkled cooking seasonings like rosemary and pepper. When the first layer is dry, I cover the seasonings with a second layer. Think of it as decoupaging on the seasonings. The slight gloss of the satin gives the turkey a juicey look without making it too glossy.
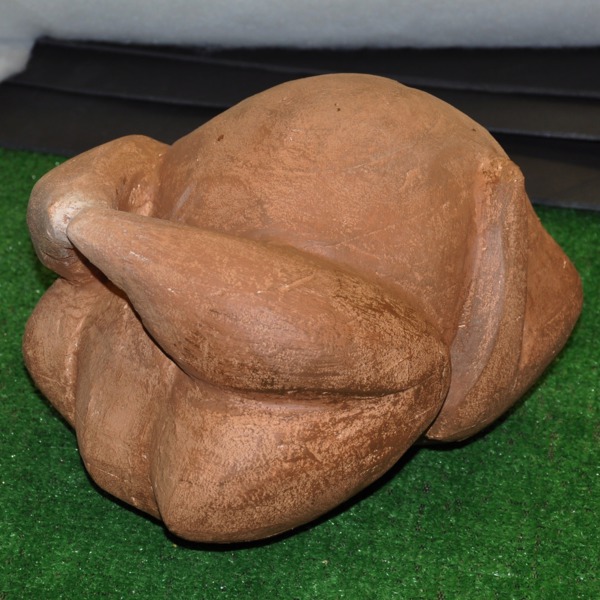
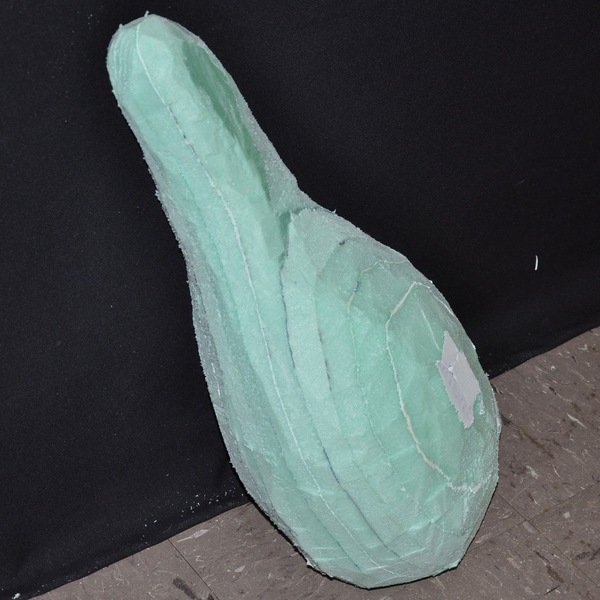
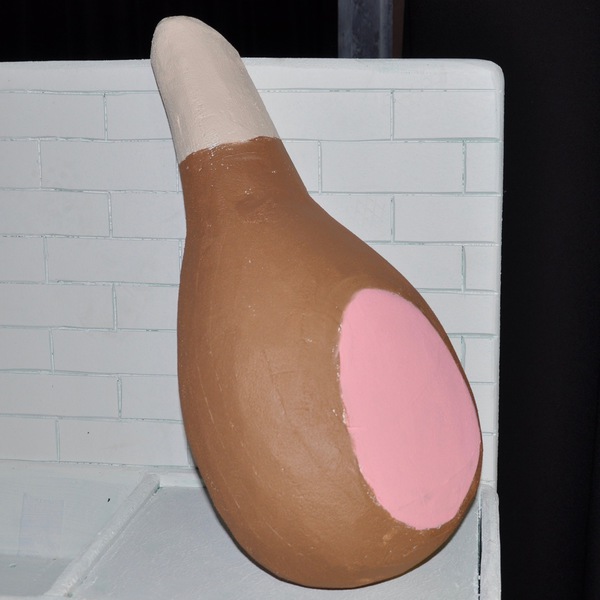
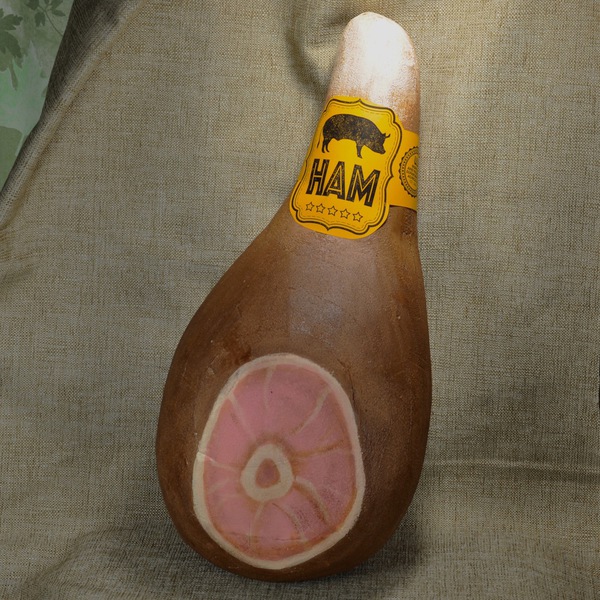
Ham
We mad a leg of ham the same way we made the turkey. I created a store label on the computer and printied it out for a final touch.

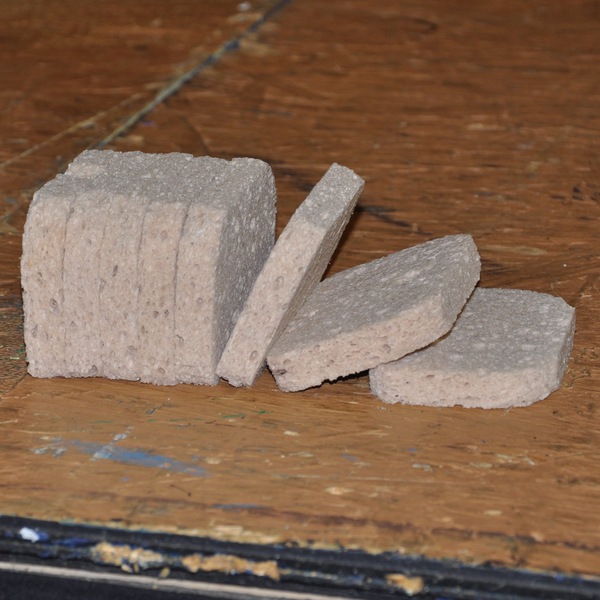
Other Foods
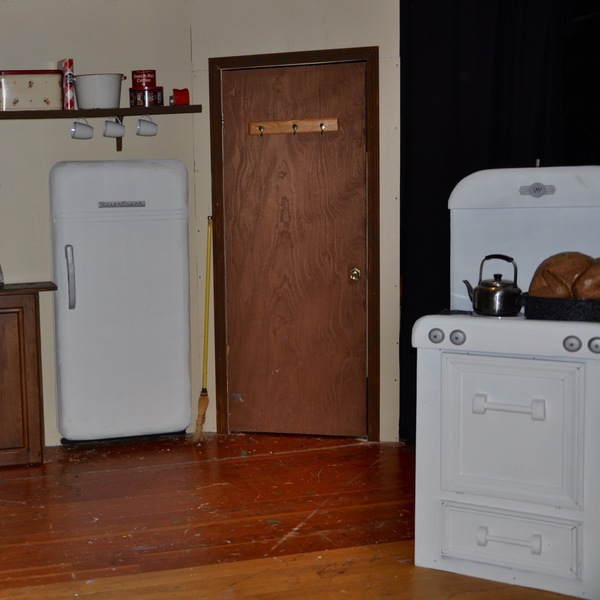
A Place To Store The Food
We built a refigerator the same way we did the food. Since our actors needed to pull things out of the fridge, we had to first build a wooden frame that can hinge onto our wall. Space is an issue on our tiny stage. So we had to make a shallow fridge front that gave the illusion that a whole unit was there.


News
Sue has joined the Scantic River Artisans. Come see art made by local artists of various mediums. Find out more about SRC at this link.
Sue is now a Certified Gemologist by the International Gem Society! Sue became a gemologist to help better identify gems in jewelry bought and sold by the company she and her husband run, CSM Collectables. Find it on Ebay.
CSM COLLECTIBLES NOW OPEN FOR BUSINESS!
My husband and I are looking for a new career to pay for the kids in college. Check it out.
FOLLOW MOTHER!!
Please LIKE us on


All photos and art displayed on this site are protected under copyright law.